• Home
  • Work
    • Edible Heirlooms
    • Subscribe
    • Stamps
  • About
  • Newsletter
Menu

Hazel K Letters

  • Home
  • Work
  • Passion Projects
    • Edible Heirlooms
    • Subscribe
    • Stamps
  • About
  • Newsletter
Date and Walnut Cake-low res-1.jpg

Date and Walnut Cake

July 17, 2020

A cake is such a fascinating thing. It is a celebration.

For me, it is in itself a celebration even if there’s no occasion. The store bought ones certainly look the part and they’re nice, but there’s just something about a homemade cake - just the act of making one and then consuming it, is most joyful. Whether it is trying to run your fingers over the beater to lick the remnants of batter, or following the intense aroma all the way to the oven as it bakes, whether it is anxiously peering in through the facade of the oven as it starts to rise or just cutting into that first slice - it is positively enchanting.

As a child, on my birthdays (and maybe even other people’s birthdays) the thing that I was most excited about, was the cake. I still remember going to my friend Rhia’s birthday and witnessing the most beautiful butterfly shaped cake (the antennae were made of candy canes) made by her grandmother - the memory just never left me! And it would have gnawed at me, but for the fact that my mum and her side of the family are phenomenal bakers. All cake cravings were more than satisfied.

This baking aspect has intrigued me for a while now and made me wonder about food and its relationship to history and politics even. In a time that most people neither had the knowhow, the equipment or the resources, how did baking and cakes make its way into a Kutchi family? I have images of a colonial India and some theories, but I’d love to know exactly how it happened.

I’d love to be able to trace it back some day, but for now, I’m going to talk about my Nani’s Date and Walnut Cake. Whether it was at home, or while we traveled, she’s always been super resourceful and generous with food and feeding people. Somehow, she’d always pack it in a reused orange mithai box. The minute you opened it, there was a caramel-y aroma, as a sheet of butter paper concealed it from view. The crinkle of the paper as you pulled it back to reveal the cake only added to the excitement. Sitting there in this humble little box was this cake with a caramelised top - both crunchy and chewy, but with a light, moist crumb. Every bite has hits of caramel, pops of sweetness from the dates and then bits of walnuts to provide relief from all the sweetness - basically prepping your palette to start over again with the next bite.

What I love about this cake and homemade cakes in general is how forgiving they can be. Even if they don’t look the part, they’re basically flavour bombs. Sometimes the more imperfect they look, the better they taste!

This cake in particular is great for someone who doesn’t bake much because it’s one of those, throw-everything-together kind of cakes and it isn’t daunting in the least.

Make it without an occasion and like my dad said to me once, ‘just celebrate’.


I personally prefer measurements in grams, but this one is in cups - you can’t really go wrong though.

Ingredients
1 cup (deseeded) dates, chopped
1/2 cup walnuts, chopped
1 cup granulated sugar
1 cup boiling water
1 and 1/2 cups flour
1 egg
1/4 cup butter
1 tsp baking powder
1 tsp soda bicarb
1 tsp vanilla extract
Pinch salt

For the glaze
1/2 cup walnuts, chopped
1/4 cup brown sugar
1/4 cup light cream
1/3 cup butter
Pinch salt

Method
Preheat oven to 180C and prepare an 8in x 8in baking tin.

In a bowl, sieve the flour, soda bicarb and baking powder. In another bowl pour the boiling water over the dates and let them sit till soft and squidgy. Combine the walnuts, egg, sugar butter and dates. Lastly, fold the dry ingredients into the wet a tablespoon at a time and spread evenly in the baking tin.

Depending on your oven, baking times will vary anywhere between 30-40 minutes.

For the glaze, bring the cream, sugar, butter to a boil and then add the chopped walnuts. When there’s ten minutes left on the cake timer, pour the glaze over the cake and let it bake for the remainder of the 10 minutes.

The result will be a caramelised, chewy top with a soft, moist crumb. Best served warm and with good quality ice cream or cream, if you’re feeling indulgent.

Peripheral tips
- All of the ingredients in this recipe can be combined by hand, you don’t need a beater, but a whisk and a silicone spatula are very helpful.
- To prepare the baking tin, I grease it with butter, then coat it with a thin film of flour and but a sheet of butter paper at the bottom just for insurance.


In illustration, recipes, lettering, graphic design, Food, baking Tags baking, cake, food, recipes, edible heirlooms, typography, type, lettering, custom lettering, cooking, comfort food, hand lettering, graphic design, design
Comment
curry rice.jpg

Curry-Rice

June 29, 2020

While the world goes through this very strange time together (but in varying degrees), we have been witness to the fact that so many of us have been seeking comfort in food. There’s a joy in cooking, eating and sharing, that for a few hours a day can drown out the chaos that can’t otherwise be ignored. It is in this vein that I write this post and it really has been a long time coming.

There are three things I’d like to say before I start this post -
One, that if there ever was a Santa Claus like figure, she is a woman. Two, her generosity is unparalleled and she works year round to make those around her supremely happy. Three, she is my aunt, Nilu. Or as I call her, Nilufui.

Her workshop is a small kitchen, tightly packed with ingredients and utensils and it is hot at the best of times. In summer however, it is literally a little furnace, but that never stops her. She still moves around with the ease and efficiency of a seasoned pro, infusing bags of flavour into anything she touches. You’d think she was a wedding caterer because there are always larger than life cauldrons bubbling over on her stove. In fact, I don’t think I have ever seen a small pot or pan in that kitchen. Cooking for a herd gives most people anxiety, but not Nilufui. She cooks in anticipation of feeding a flock … three times over. But this is just her, or them, rather - as my dad would say, my uncle and aunt are the most large hearted people in the world. They’ve hosted just about everybody and it’s always, always a feast. Even when you leave their place you walk away with about 50 boxes of food. How I have two thin cousin sisters always beats me.

For me however, some of the best times have been when their house wasn’t brimming with people and it was just ‘us’. My uncle, Vispi, would engineer the most marvellous fruity concoctions, which were consumed sprawled on the bed. These were accompanied by lots of laughter which was the result of my dad and uncle engaging in the best kind of banter, generously peppered by every Parsi expletive imaginable (or unimaginable). Nilufui was always in and out of the room pulling out even more stuff to eat and heating the large pots of food to volcanic levels.

When there was nothing but the ice clinking around in our glasses, it was already 11:30 pm or 12:00 am and we were positively ravenous. Curry, rice and kachumber (a sort of well seasoned salad made of finely diced onions, tomatoes, green chillies, coriander, with a squeeze of lemon) were brought onto the table and everyone took their respective spots. Even after everyone had served themselves, Nilufui hovered around to see if everyone got the best bits, putting a piece of chicken or egg or potato into your plate because she’s always worried you’re not eating enough. At long last, she’d make herself a plate and settle into her spot at the table. And this is one of the reasons why I loved it when it was just ‘us’. She’d actually eat with us instead of fussing over everyone else. It truly was a family meal.

I can still hear the ‘too good, Nilu’ in my dad’s voice, as all of us attacked our own portions of the curry-rice. The curry was deep golden, molten and spicy and even through sweat and sniffly noses you could not stop eating it. The rice was always fluffy with unbroken, long grains and just so well seasoned - you could smell aromats like cinnamon, cloves, star anise and cardamom wafting through as you uncovered it. This curry has incredibly complex flavours, but it is so smooth and eats so beautifully that I never once thought about the long list of ingredients and process that go into making it. The kachumber (or kachubur) punctuates every bite with the right amount of acidity and the zing of onions, making you salivate and reach back for more almost as a reflex.

Clean plates in hand, again I can hear my dad’s contented voice saying, “bau khavai gayu” (ate too much) and that, actually sums it up really well.

Curry-rice is a childhood favourite, the stuff glorious Sundays and family meals are made of and I’m sure just about everyone I know has a curry-rice story or memory. This post is of course about curry-rice because it is one of the best things I have ever eaten, but it is just as much about Nilufui because she’s responsible for a majority of our most joyous memories involving food and family. Without her, I’m afraid we wouldn’t have been so fortunate. She’s genuinely the most large-hearted, selfless person we know and Edible Heirlooms would be incomplete without her and her food … and frankly, so would we.

Thank you Nilufui, for the curry-rice and everything in-between, but mostly for letting us be children even in our 30s and for spoiling us silly. We love you.


Ingredients
1 kg chicken/mutton or 1 dozen eggs
30-35 red chillies (a mix of Kashmiri and deshi)
100 gms broken cashews
50 gms coriander seeds
50 gms white sesame seeds
50 gms poppy seeds (khus-khus)
5-6 onions, chopped (medium to large onions)
4 heaped tablespoons desiccated coconut
2 pods peeled garlic
15 stems of curry leaves (atleast)
400 ml tin of coconut milk
3 tablespoons chickpea flour, sieved (besan)
3 tomatoes, pureed (medium sized)
50 gms tamarind (sqoaked for 5-6 hours and then sieved)
2 teaspoons chilli powder
1/2 teaspoon turmeric powder
50-60 ml sunflower oil
1 to 1.5 litres water
Salt to taste

Method
In a large frying pan, roast the red chillies, cashews and coriander seeds on a low flame. Once it is about half roasted, add the sesame seeds and poppy seeds (khus-khus) - complete the roasting process and set aside to cool. Once cooled, grind the red chillies first and then add the remainder of the roasted ingredients. Grind till it becomes a fine powder. Then add the chopped onions, garlic, desiccated coconut, half of the curry leaves and grind to a fine paste, adding the coconut milk periodically.

In a huge pot, add the oil and the remaining curry leaves and let them splutter, before adding the prepared curry paste. Keep stirring over a medium flame, until there are small bubbles indicating that the masala is fried to perfection. Then add the sieved chickpea flour (besan) and let it assimilate. Add the tomato puree and let it cook for about 5 minutes. Next comes the chicken or mutton - add it to the curry and for about 10 minutes, let the chicken/mutton absorb the curry paste.  Once the chicken/mutton is properly assimilated, add water and let the curry cook - first on full flame till it comes to a boil and then on a low flame, till the chicken/mutton is cooked. Finally, add the strained tamarind paste/water and let the curry boil for another 10 minutes.

If you are making egg curry, then add the eggs about 15 minutes before you put in the tamarind paste/water, else the eggs will be overcooked. Remove the shells just before serving, and put the peeled eggs back in the curry after cutting into two halves. This is so that the eggs absorb the flavour of the curry.

This curry needs to be served with plain white basmati rice (with just aromats) and a Parsi kachumber. The kachumber is made with two onions, one green chilli, some coriander leaves and one firm tomato. All of it is as finely diced as possible and mixed together. When raw mangoes are available, add one small raw mango to give the kachumber an added zing!

Best consumed on Sundays, followed by a long nap.

In Food, lettering, recipes, typography, illustration, graphic design Tags food, comfort food, recipe, curry, lettering, illustration, edible heirlooms, design, hand lettering, typography, type, custom lettering, graphic design, cooking
1 Comment
Poro-low res.jpg

Poro

May 5, 2020

Parsi Omelette

I can’t believe it’s been almost a month since I posted to Edible Heirlooms. The long gap is in part because I’ve had my hands a little too full during the lockdown and also partially because my pantry lacked the ingredients to test out several recipes. I have however recalibrated and decided to post recipes that are easy on my pantry (and yours).

This week we’re doing a Poro - an excellent lockdown breakfast or brunch option. I don’t know where the word Poro comes from, but as far as I understand, a Poro is essentially a Parsi omelette, with finely chopped veggies. I’ve grown up with two kinds of Poro - an Eenda no Poor (egg omelette) and a Besan no Poro (chickpea flour pancake or cheela). The Besan no Poro is like the vegan-friendly cousin of the eggy version - both are simple, quick and absolutely delicious.

As with most of the food I ate throughout my childhood, I’ve had to reverse engineer recipes based on what I remembered of my grandmum’s glorious cooking. I’ve experimented a fair bit even with something as simple as an omelette, to get it as close to hers as possible. I’ve found that the key to a classic Poro lies in the fact that it has the gentle hum of ginger-garlic paste in the background and also the fact that it is fried - it isn’t a delicate, blonde omelette. You want to throw the beaten egg in hot oil and watch the edges go fluffy and curly all in one go and then you want to take it far enough so that it is a deep, caramel-y golden-brown.

Knife work isn’t my favourite part of cooking and ‘roughly chopped’ is always music to my ears in any recipe, but with this, you want to chop the onion, tomato, green chilli and coriander as finely as possible because it ensures that the omelette doesn’t break when you flip it, but also it eats better this way.

The only addition I’ve made to this is to throw two slices of bread in the pan once the omelette is cooked to soak up any excess oil in the pan, which by now is full of flavour. There’s something about a slice of bread toasted in a pan versus the toaster - just low and slow. Every now and then I’ll throw in a good knob of butter (because there’s no such thing as a lightly buttered toast). I put a layer of green chutney (coriander and mint) on the toasted slices before squishing the Poro between them. This is a major nostalgia moment that takes me back to train journeys with my dad where sometimes we would buy the omelette sandwiches. They were still warm because they must have been loaded onto the train at the most recent stop. Because they had been packed when hot, all the juices and flavour from the omelette seeped into the bread and the bread was no longer a bland vehicle for its filling. With the sandwich was a little packet of ketchup and that poor packet was stretched super thin when it had to cover an entire sandwich. When I made this at home, my dad would put an overly generous splotch of ketchup on the side of his plate, almost like he was compensating for any lack of ketchup over the years. So my Poro isn’t complete without some ketchup. 

If you’re feeling indulgent, add some grated cheese to the sandwich. And I’m sure this is great with an artisanal loaf, but for me in this case at least, it has to be soft, store bought white bread. If you’re doing this for breakfast, it always nice with a big cup of chai.


Ingredients
2 eggs
1/2 tbsp oil
1 tbsp finely chopped onions
1 tbsp finely chopped tomatoes
1 small green chilli, finely chopped (Deseeded  if you can’t handle spice)
1/2 tbsp finely chopped coriander
1/2 tsp ginger-garlic paste
1/8 tsp turmeric powder
1/4 tsp chilli powder
Salt to taste
Butter and cheese optional (for sandwich)

Method
In a bowl crack two eggs and add the rest of the ingredients as well. Whisk well so that none of the vegetables or spices clump together. Put the oil in a non-stick pan on a high heat and put the beaten egg in once the oil is hot. You will see the edges of your egg mixture puff up and go gnarly at the same time. Reduce the flame to a medium-low kind of heat and cook until the underside is a deep, golden brown. Flip the omelette and cook the other side similarly.

For the sandwich, throw two slices of bread (of your choice) into the pan to mop up an excess oil and juices. If the pan looks dry, throw in a knob of butter. Let it brown on a low flame and turn once golden. Once the bread is done, smear it with some some green chutney, if you have it lying around in your fridge. First fold the omelette in half and then cut the folded bit into half - this just fits in a sandwich pretty neatly because the pointy ends match the corners of the bread and the curved side goes inward. This also means getting a generous amount of omelette with every bite (I hate sandwich corners that feel like they have been ostracised). Stack it all together and press it down a tad. Add cheese into your sandwich before closing it, if you like.

Serves one.

Serve super hot and steamy, with a nice cup of chai.
If you’re feeling nostalgic and want to do a train sandwich, wrap it in foil for a bit so that it steams a little bit and becomes more juicy.

The recipe for Besan no Poro will come very shortly!


Useful peripherals
- Make sure the oil is properly hot before you add the egg mixture, otherwise the point on a Poro is sort of lost
- Time spent finely chopping the veggies is well spent
- Beat the egg mixture once just before you put it into the hot oil, otherwise it settles at the bottom and falls like a clump in the end


P.S. Some of you said pictures of the finished dish might be helpful, so I’m posting those to @hazelkeats on Instagram. I’m not a photographer and a lot of Indian food photographs terribly, so forgive any shortcomings!

As always, if you do try this, please share pictures :) I’d love to see your take on a Poro.

You can subscribe to my Edible Heirlooms newsletter or follow @hazelkeats on Instagram

In Food, lettering, recipes Tags lettering, illustration, typography, type, graphic design, design, edible heirlooms, recipe, parsi food, poro, hand lettering, custom lettering, breakfast
Comment
Khichdi-low res.jpg

Khichdi

March 26, 2020

Before I begin this post, I hope that you are safe and well. And I hope that you continue to be so in this very strange time. I’m sorry about not getting a post out last week, but things have been fairly chaotic and left me with very little time to work on anything. I’m happy to finally have this up though!
——

As a child, a large part of my school vacations were spent in Bombay. The excitement started right from the time we started packing. It’s hard to believe now, but I actually remember jumping on the edge of the bed while Ma packed, because I was excited I was going to have Nani’s cake. The excitement lasted only half a minute because I fell pretty badly, and haven’t jumped for cake since. Not outwardly at least.

The whole experience started with one very punctual grandfather dropping us to the station (in Ahmedabad) even before the train had come to the platform and ended with a very laid back grandfather dropping us to the station (in Bombay) just as the train was leaving the platform. We’ve chased our share of trains, running and climbing into any compartment with me and the bags being passed over.

The highlights of my vacation in Bombay were seeing my cousin Aarti and all the food that awaited me at my Nana-Nani’s house. My Nani’s way of showing love has always been to stuff you till you actually have to retire your current pair of pants. She would always labour over making special snacks, cakes, mithai and every other delicious thing you can think of, days before we were to even arrive. She’s always been indulgent with food and took great pleasure in feeding me. I’m sure a part of my love for food, cooking and feeding people comes from her and I’m grateful to her for that.

Meals at their house have always been quite an affair - not in terms of fancy food, but just in terms of the fact that they were delicious, slow, deliberate and to be enjoyed immensely even on a weekday afternoon. Nani did all the cooking and my Nana was the equivalent of Matt Preston (without the cravat). He had a remarkable palette and often she’d ask him what adjustments were needed. He was always bang on.

The family owned a very old, beautiful building called Jadavji Mansion (named after my Nana’s father) at Cuffe Parade. Nana-Nani occupied a spacious apartment on the first floor and my Nana’s brother occupied one on the third floor. My enduring memory is running up and down the grand, wooden staircases with Aarti, with a sense of adventure almost. And while we scuttled between the two houses, we were continually looked after, entertained and fed by doting grandmothers, grandfathers, aunts and uncles. Occasionally we’d stumble on a narrow passage or balcony that we had never seen before and decide it was a ‘secret passage’. The building was positively charming and fascinating to me as a kid. In the evening we’d play on the tar laden terrace, where the sea breeze hit our faces and the tar blackened our clothes. Sudhanani (my Nani from the house upstairs) would make these amazing Swiss Rolls and every now and then we were given a slice. They’re etched in my memory not only because of how fantastic they tasted, but because I couldn’t wrap my head around how a cake could possibly take that shape. I was so captivated and bewildered by this thing of beauty, I could’ve sworn it came right out of Charlie and the Chocolate Factory. If there was ever a cake I was to jump for again, that would be it.

After a day of running around, playing and eating the most amazing things at two houses, a Khichdi dinner could potentially have been considered anticlimactic. Perhaps to make it less so, my Nani called it ‘Kuva vali Khichdi’ (Khichdi with a well). She’d put the piping hot Khichdi onto my plate, then make a whole in the centre with her titanium fingers to form a well and then fill it with ghee. It was supremely delicious and far from anticlimactic. In fact all these years later when I’m eating alone, I still stick my finger in and make a small well. It has always made me smile.

It would seem that my association with this Khichdi is still one of old, beautiful Jadavji Mansion and of being surrounded by and doted on by a large family. I suppose that really is comfort, in a nutshell.


Khichdi-01.jpg
Khichdi-02.jpg

Ingredients
1 tbsp ghee
1/8 tsp hing (Asafoetida)
60 gms rice (I use Daawat Rozana Basmati Super)
60 gms split mung dal (with chilka), also known as split mung bean lentils
1/4 tsp turmeric powder
375ml water
Salt to taste
1/2 tsp whole black peppercorns (optional)

Method
Combine the rice and lentils, wash thoroughly two or three times and soak for about half an hour. It is ideal to let the rice and lentils soak for a while, but if you’re in a hurry you can skip this. I do, sometimes.

Heat ghee in a pressure cooker on a high flame. Once it comes up to temperature, add the hing and then the peppercorns (optional). Once it sizzles and becomes aromatic, add the soaked (and drained) rice and lentils. Add water, then the turmeric and salt. Give everything a quick stir and seal the lid shut.

After the first whistle, reduce the flame to low and wait for two more whistles. Open the lid after about 7-10 minutes, once some of the steam has escaped. With a wooden spatula, stir vigorously so that the rice and lentils are all mashed up and have a gluggy consistency. If you’d like it slightly more loose, add more water at the cooking stage. Serve piping hot with a generous dollop of good quality ghee.

Serves two, with a couple of accompaniments. If you’re doing just Khichdi, I recommend increasing the quantity.


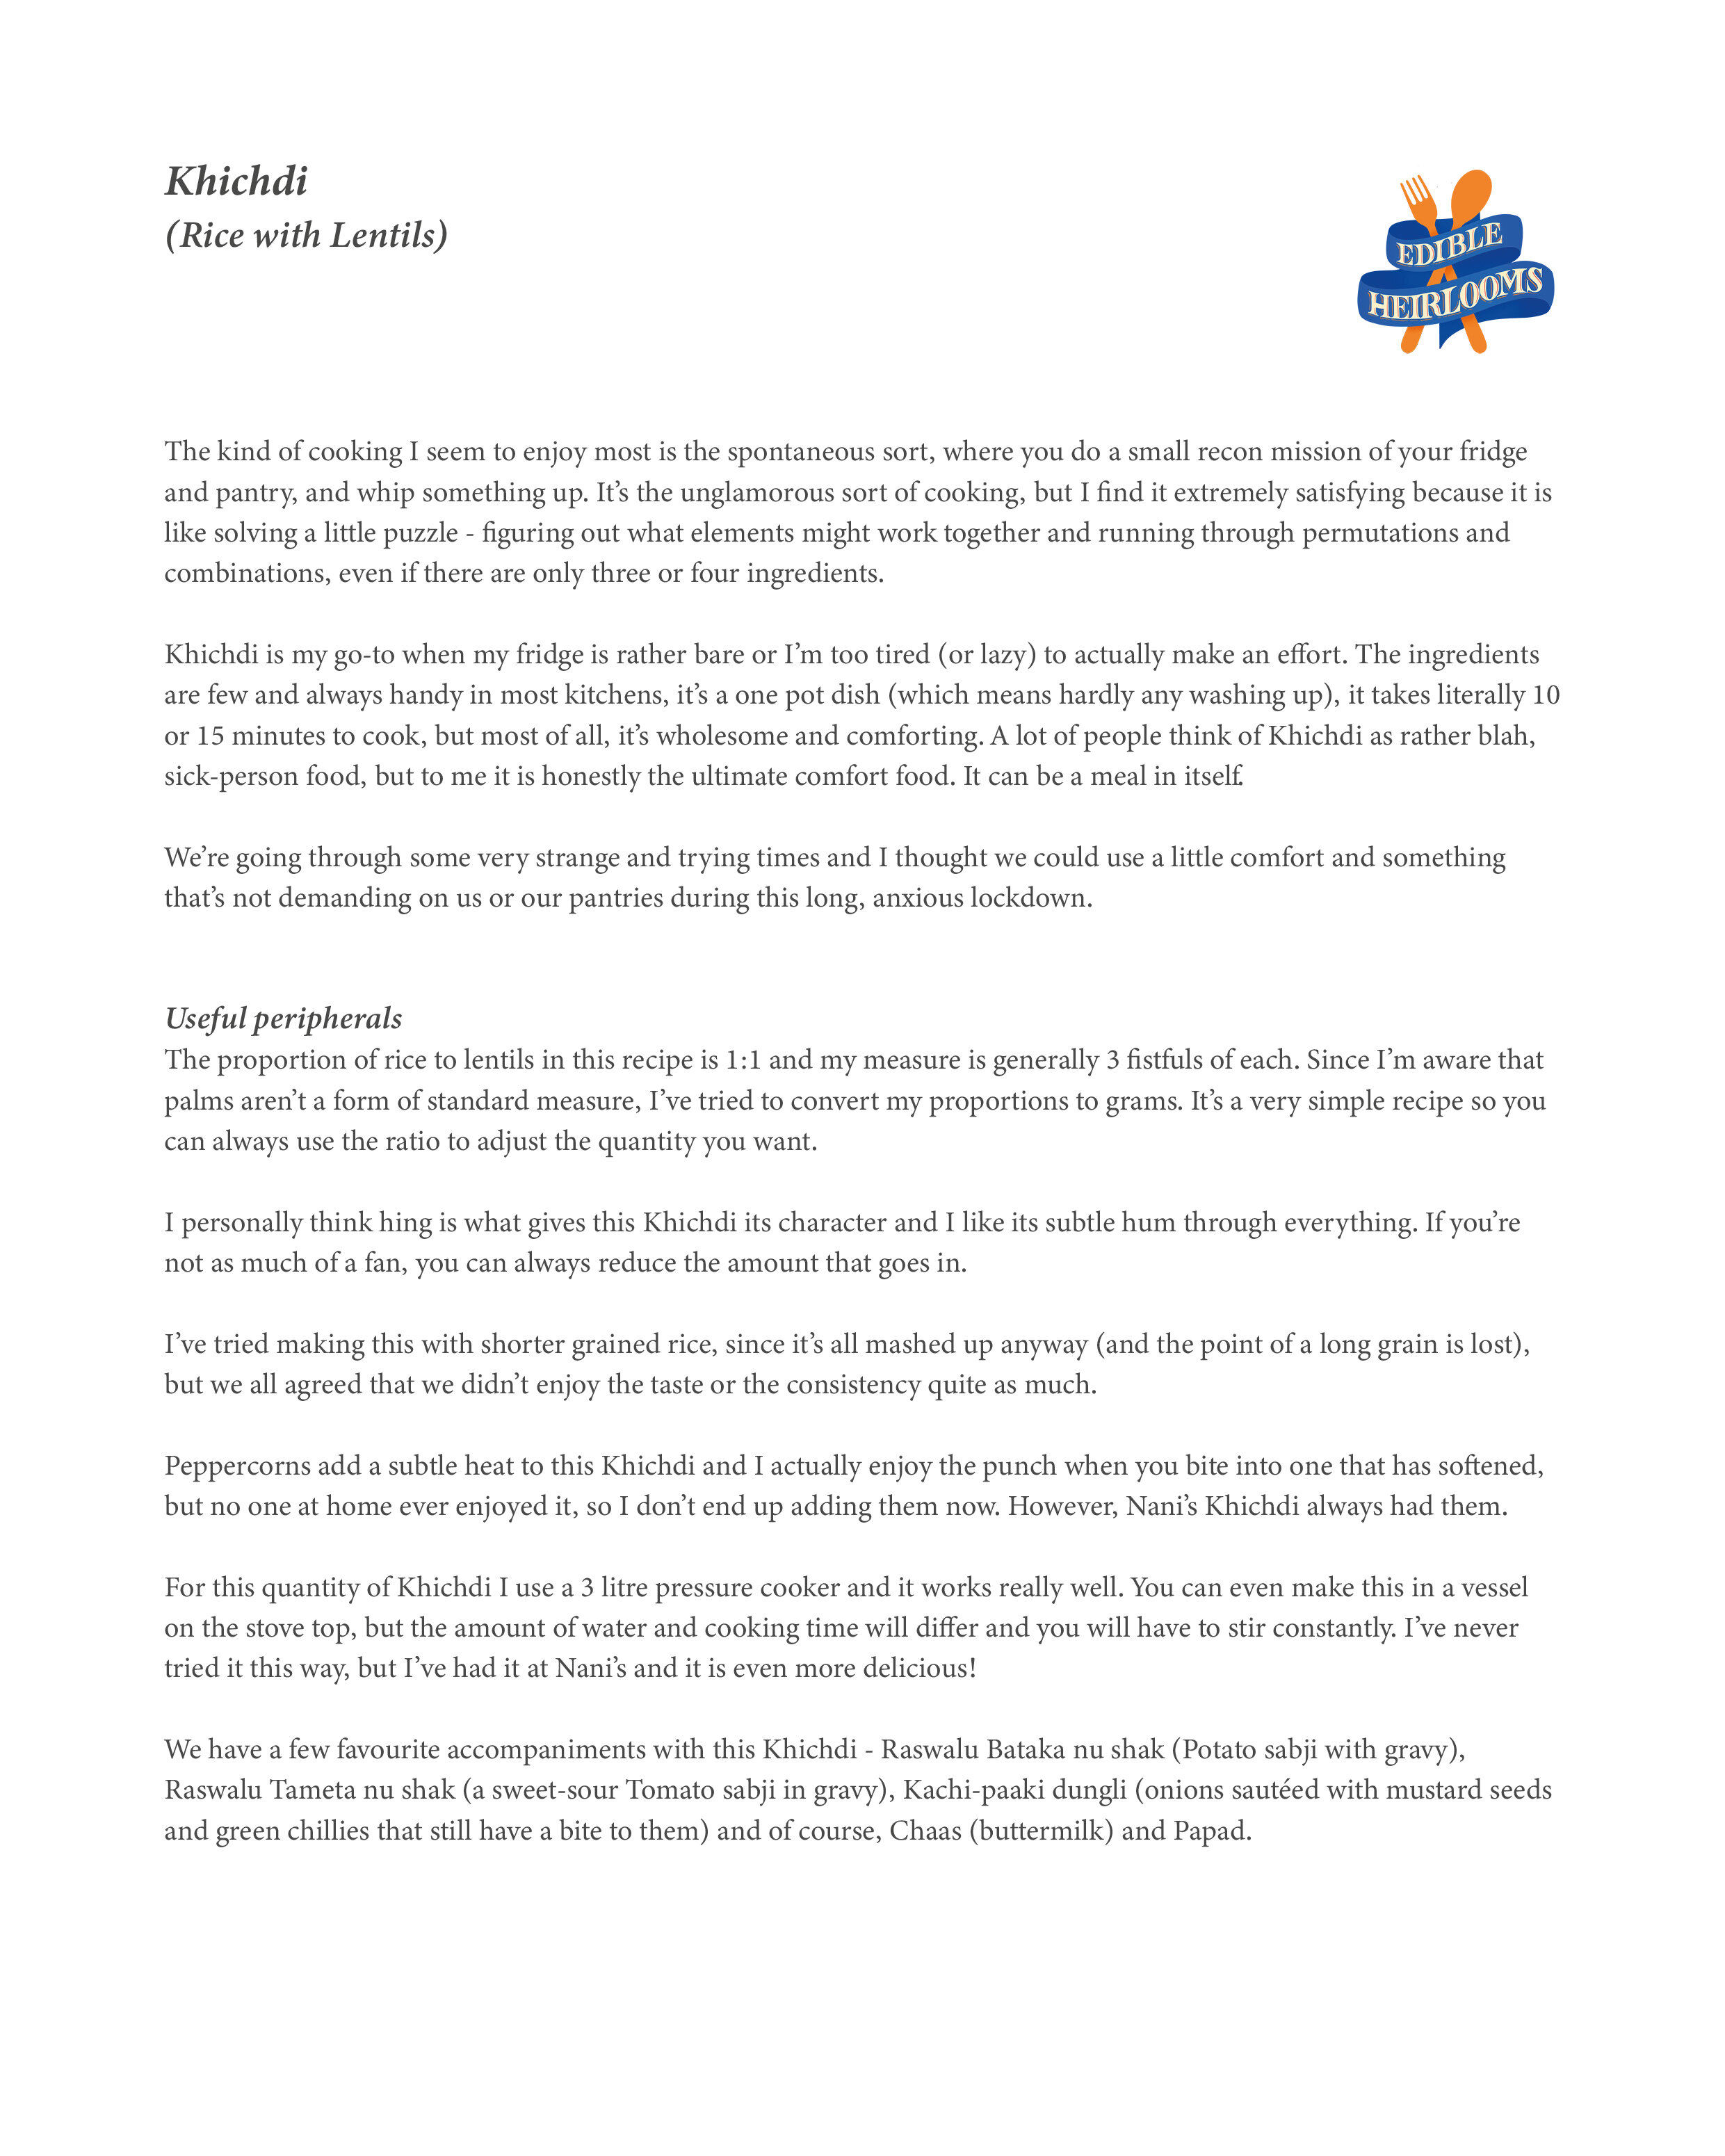
The kind of cooking I seem to enjoy most is the spontaneous sort, where you do a small recon mission of your fridge and pantry, and whip something up. It’s the unglamorous sort of cooking, but I find it extremely satisfying because it is like solving a little puzzle - figuring out what elements might work together and running through permutations and combinations, even if there are only three or four ingredients.

Khichdi is my go-to when my fridge is rather bare or I’m too tired (or lazy) to actually make an effort. The ingredients are few and always handy in most kitchens, it’s a one pot dish (which means hardly any washing up), it takes literally 10 or 15 minutes to cook, but most of all, it’s wholesome and comforting. A lot of people think of Khichdi as rather blah, sick-person food, but to me it is honestly the ultimate comfort food. It can be a meal in itself.

We’re going through some very strange and trying times and I thought we could use a little comfort and something that’s not demanding on us or our pantries during this long, anxious lockdown.

Useful peripherals
The proportion of rice to lentils in this recipe is 1:1 and my measure is generally 3 fistfuls of each. Since I’m aware that palms aren’t a form of standard measure, I’ve tried to convert my proportions to grams. It’s a very simple recipe so you can always use the ratio to adjust the quantity you want.

I personally think hing is what gives this Khichdi its character and I like its subtle hum through everything. If you’re not as much of a fan, you can always reduce the amount that goes in.

I’ve tried making this with shorter grained rice, since it’s all mashed up anyway (and the point of a long grain is lost), but we all agreed that we didn’t enjoy the taste or the consistency quite as much.

Peppercorns add a subtle heat to this Khichdi and I actually enjoy the punch when you bite into one that has softened, but no one at home ever enjoyed it, so I don’t end up adding them now. However, Nani’s Khichdi always had them.

For this quantity of Khichdi I use a 3 litre pressure cooker and it works really well. You can even make this in a vessel on the stove top, but the amount of water and cooking time will differ and you will have to stir constantly. I’ve never tried it this way, but I’ve had it at Nani’s and it is even more delicious!

We have a few favourite accompaniments with this Khichdi - Raswalu Bataka nu shak (Potato sabji with gravy), Raswalu Tameta nu shak (a sweet-sour Tomato sabji in gravy), Kachi-paaki dungli (onions sautéed with mustard seeds and green chillies that still have a bite to them) and of course, Chaas (buttermilk) and Papad.


Since Edible Heirlooms is about food and celebrating it, I can’t help but think about people who absolutely no food security during this rather strenuous 21 day lockdown to fight COVID-19. I cannot even begin to imagine the hardship and anxiety that they must endure. There are people and organisations trying to raise money to provide food for the poor, migrant labourers and daily wagers, if you’d like to make any sort of contribution. 

Human beings are the only ones suffering as animals and animal welfare organisations are also having a very hard time. Please consider donating to them too. If you’re out to buy essentials, please also consider feeding the animals on your route.

Here is a list of organisations you can donate to -

Zomato Feeding India https://www.feedingindia.org/donate

Goonj Rahat COVID-19 https://goonj.org/support-covid-19-affected

Saath https://saath.org/donate-now/  (Maybe mention that it is for COVID-19)

Jivdaya Charitable Trust https://www.jivdayatrust.org/donation-form/

P.S. In all of this doom and gloom, it made my day when some of you actually tried the Papeta Par Eedu and shared pictures! Thank you <3
As always, if you give this a shot, please share pictures! I’m always thrilled to receive them.

In Food, lettering, recipes Tags lettering, hand lettering, typography, graphic design, type, design, recipe, food, edible heirlooms, custom lettering, khichdi, comfort food
Comment
Papeta par eedu-low res.jpg

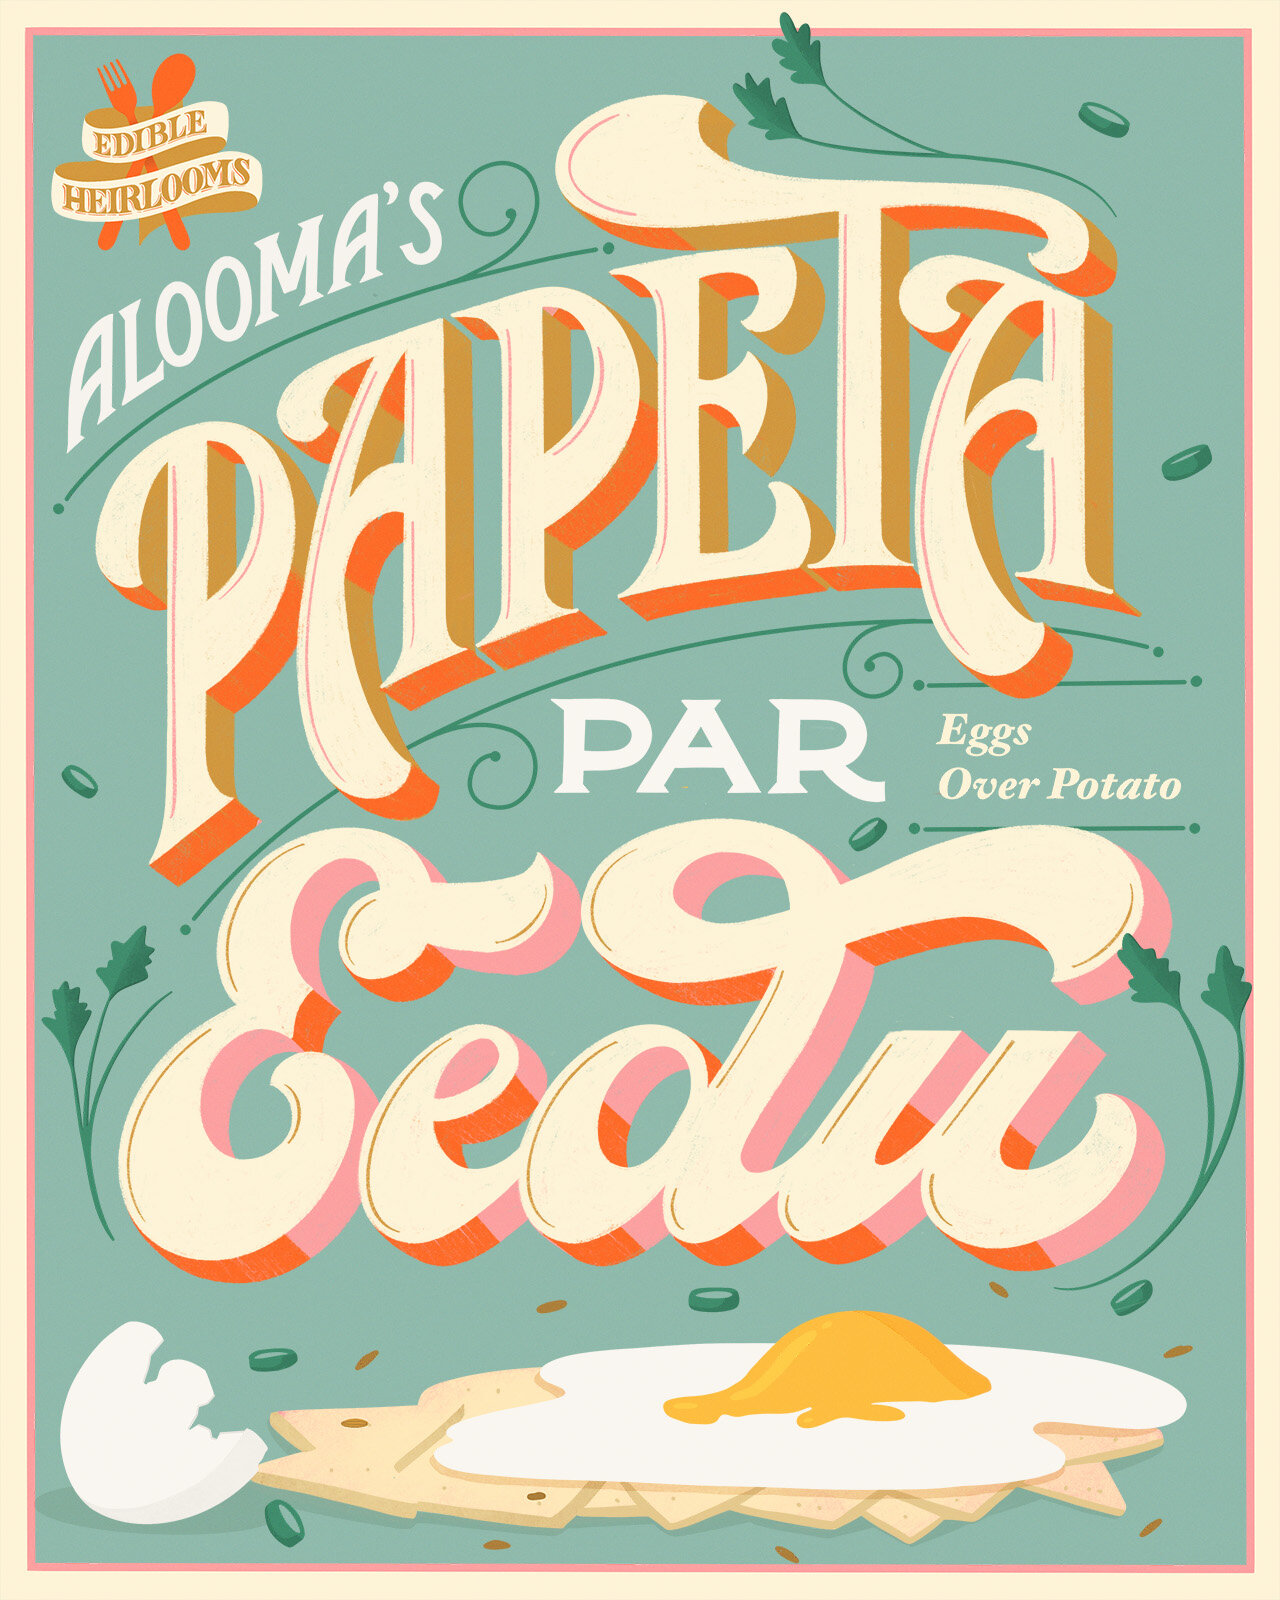
Papeta Par Eedu (Eggs Over Potato)

March 13, 2020

There’s something about simplicity that is strangely deceptive. It is often thought of as being unidimensional or even simplistic, but when I really think about it, to arrive at simplicity can be pretty complex and painstaking - it is perhaps why it is beautiful in its irony and the reason one feels joyous at having arrived at it. Maybe this is the equivalent of abstraction in art, in that abstraction and minimalism are incredibly complex and the result of (potentially tedious) process and evolution - to gradually chisel away at something until you’re left with the bare bones or just enough to still capture its spirit. However, on more than one occasion I’ve heard more than one person remark whilst looking at a Mondrian, Picasso, Calder or Kandinsky (all masters of abstraction), how it looked like their three year old could have done the same thing. Even this, is probably a compliment because making something look simple isn’t easy. At all.

This is kind of how I feel about my grandmother’s Papeta Par Eedu. This kind of simplicity disarmed me into thinking that I could throw the bunch of ingredients into a pan and it would be a breeze. It was a humbling experience, to say the least because when there are only a few elements to work with, there’s nothing to hide behind and nothing to mask your flaws. I am by no means suggesting that this is a complex recipe, but that I felt a new found admiration for the magic my grandmum could create by harnessing so much flavour from a few humble ingredients.

Every day Alooma (my grandmum) waited for me to get back from school so that we could have lunch together. For the most part I hated school, so I was always happy to come home. Even more so when I had a dog. I threw my bag on any surface closest to the door, I was grimy and smelled like kerosene from the Rickshaw ride back from home, but I couldn’t be bothered because I was always super hungry by the time I got home. On most days we had Papeta Par Eedu because I loved it. Let me put it this way, if this dish was a song, it was the only one I played from an entire playlist.

Both of us sat in front of the TV with our respective plates and watched ‘MTV Select’ while we ate. Alooma obviously had no interest in MTV, Michael Jackson or the Backstreet Boys (yes, that was a major phase), but she liked whatever I liked. It was so incredibly wonderful of her - not once did she ask to watch something she liked. She was always in my corner even if she knew I was wrong, and if I ever had a fan club, she would be the one fan that made it up. That’s all I needed anyway, I think - the 33 kg, one woman army with the largest heart and a stare that could blow you into oblivion if you crossed her granddaughter. 

Food is so much more than just ingredients and meals and this dish is special to me, not only because I love eating it and making it, but because it reminds me of my Alooma and what it meant to have someone so absolutely devoted, you could do no wrong in their eyes. I feel so incredibly fortunate to be at the receiving end of something so unadulterated. I wish every kid had that.

I would call that a digression, but food to me has little meaning without the people and the stories that bind me to it.

So coming back to the lunch in our plates as we watched TV - the potatoes were perfectly cooked, slightly caramelised from sticking to the pan, the cumin was perfectly tempered, the chilli added a tiny bit of heat, the egg was set just right and everything was perfectly seasoned. What tied it altogether and gave it its identity was the gentle, but flavourful hum of aadu-lasan (ginger-garlic paste) running through it. We had it hot from the pan with a fresh Roti. I’m actually salivating right now.

Over time my grandmum’s recipe has been modified and I make a slightly altered version right now, but I do think that the aadu-lasan paste is key to this dish. I’ve listed both recipes - the original and the modified version. What I love about making this is how versatile it is and how there’s so much room to experiment and play around. There have been times when I’ve even made it with the previous days’ potato sabji and it was still delicious.


There are a million variations to this and I’m sure every Parsi house has their own version, so have fun with it and customise it as you’d like!

Papeta per eedu recipe-02.png
Papeta per eedu recipe-01.png
Papeta per eedu recipe-03.png
Papeta per eedu recipe-04.png

Ingredients
1 tbsp vegetable oil
1 tsp cumin seeds
1 medium sized red onion, sliced
1 green chilli, finely chopped
1 tsp ginger-garlic paste
2 medium to large sized potatoes, peeled and sliced 5mm thick
3 eggs (large to medium)
1/2 tsp turmeric
1 tsp red chilli powder
Salt to taste
Finely chopped coriander (optional)

Method
Heat the oil in a pan on a high flame and once it has come up to temperature, add the cumin seeds. You want to temper these so that they release their wonderful flavour and aroma. Reduce the flame to a medium heat and add the onion slices. I season at various stages while cooking, so I add a bit of salt at this stage. Keep the onion moving so it cooks down evenly and doesn’t catch. What you want is for the onion to break down and release its inherent sweetness. Once the onion is slightly translucent, switch to a low flame and add the green chilli and the ginger-garlic paste. Combine everything and cook down for another 2-3 minutes or until the onion has sweated down.

Add the thinly sliced potato and combine it so that the onion-y strands have coated the potatoes. Add the turmeric and chilli powder and once again combine it just long enough so that it has coated everything and you don’t burn the spices. I season again at this point. Add a splash of water (I put about 40-50ml), run your spatula through the mix, cover and cook until the potatoes are done. Depending on the kind of potatoes, this could take anywhere between 20-30 minutes. Check on the potatoes every few minutes and move them around. Add splashes of water (I use about 10-20 ml at a time) in between if you feel like they start to stick too much. Before you add the eggs, you want to make sure that the potatoes are completely cooked and have no resistance or bite. I love the idea of tasting everything while I cook so at this point I taste, not only to see if the potatoes are cooked, but also to check the seasoning and spice.

When the potatoes are just about done, crack the eggs into a bowl or any vessel (spacious enough to whisk freely). Once in the whisking bowl, I season the eggs separately too. Use a whisk or a fork and some elbow grease, until the eggs are well combined and they’ve lost their super gelatinous strands. Spread the cooked potatoes evenly over the bottom of the pan such that you can see bits of the pan exposed between them. While maintaining a low flame, pour the eggs evenly over the potato mixture and cover with a lid. I’ve realised that not covering it makes the bottom cook way too quickly and eventually burn before the top has a chance to cook. The advantage of a glass lid, is that you can see if the egg is cooked on top without letting all the steam escape. When the egg is mostly cooked, but still just a tad gelatinous, add the coriander (if you like it as a garnish) at this point and cover once again.

Once done, the result is a set kind of top and the most delicious caramelised bottom.
We generally cut it into four and serve.

Serves two (or one Parsi with a decent appetite).


The Original Recipe

Ingredients

1 tbsp vegetable oil
1 tsp cumin seeds
1 tsp ginger-garlic paste
1 green chilli, finely chopped
2 medium to large sized potatoes,
peeled and sliced 5 mm thick
2 eggs (large to medium)
Salt to taste
Finely chopped coriander (optional)

Method
Heat the oil in a pan on a high flame and once it has come up to temperature, add the cumin seeds. You want to temper these so that they release their wonderful flavour and aroma. Reduce the flame to a medium heat and add the chopped green chilli and potato slices. Season well and combine everything till the potatoes are well coated. Add a splash of water, cover and leave over a low flame until the potatoes have cooked through. This should take anywhere between 20-30 minutes depending on the kind of potatoes and the thickness of the slices. Check on the potatoes at regular intervals and move them around to make sure they don’t stick or burn. Add a splash of water in between if you feel like they’re sticking too much.

When the potatoes are just about done, crack the eggs into a bowl or any vessel (spacious enough to whisk freely). Once in the whisking bowl, I season the eggs separately too. Use a whisk or a fork and some elbow grease, until the eggs are well combined and they’ve lost their super gelatinous strands. Spread the cooked potatoes evenly over the bottom of the pan such that you can see bits of the pan exposed between them. While maintaining a low flame, pour the eggs evenly over the potato mixture and cover with a lid. I’ve realised that not covering it makes the bottom cook way too quickly and eventually burn before the top has a chance to cook. The advantage of a glass lid, is that you can see if the egg is cooked on top without letting all the steam escape. When the egg is mostly cooked, but still just a tad gelatinous, add the coriander (if you like it as a garnish) at this point and cover once again.

Once done, the result is set kind of top and the most delicious caramelised bottom.
We generally cut it into four and serve.


The beauty of Papeta Par Eedu is that it lends itself wonderfully to playing around! I personally don’t like runny or separate eggs yolks, so the eggs are whisked. I also like the layer of potato to be thin because I feel like it’s a good ratio of egg to potato. You can play around with the proportion of eggs to potato, how thick you like it (by using more ingredients or a smaller pan), how spicy or non-spicy you like it and you can even add your eggs whole by making little pockets in the potato (if you like runny yolks). The cooking of this will differ though and you’ll have to experiment with timings a little bit.

Every now and then I add grated Amul cheese (around the same time you add the coriander and cook for a bit until it has melted) and the salty hit is wonderful. If you can’t find Amul cheese I suppose any salty cheddar that melts should do the trick. I’m no expert on cheeses though.

This is great for a late breakfast/ brunch kind of thing, with some fresh, soft white bread or a freshly made Roti (and is honesty one of the best hangover foods, in my opinion). There are several variations of this using different bases and eggs on top - Tameta Par Eedu (tomato based), Bhida Par Eedu (with ladies fingers), Bhaji par Eedu (using a pre-existing Parsi dish with greens) and even Sali Par Eedu (using a fried, crunchy potato snack). 

Useful peripherals
I use a 24 cm non-stick pan with a glass lid and a wooden spatula. If the pan doesn’t have a lid, you can use a plate (not plastic) to cover it when required.

I find it much easier to show you visually how I cut the potato. Cutting it thin cooks it faster, but also allows for some crispy bits and caramelisation, which I love. Mostly, this is just the way my grandmum did it, so I’m a fan.

It’s okay if you can’t slice the onion super fine, just make sure it’s even to ensure even cooking.

Use less green chilli or chilli powder you’re not big on heat or spice.

My grandma always kept an additional vaatki handy and would crack the eggs first into that before putting into the whisking bowl. In case an egg is bad, this will save the lot from having to be thrown out. I love these little tips that are so simple, but wonderfully functional and non-wasteful.

You can make the potato bit earlier and do the egg bit just before a meal.

In Food, lettering, recipes Tags lettering, hand lettering, custom lettering, type, typography, graphic design, illustration, food, recipe, edible heirlooms
Comment
Chai-low res.jpg

Chai

March 5, 2020

I’m starting with something very simple, partly because I’m still setting the tone for this project and figuring out its various aspects and partly because this is the first and only thing I learned how to make from my beloved grandmum, Alooma. That’s why this is ‘Alooma’s Chai’. My love for chai is unparalleled and shared with some of the most special people in my life- my dad and my closest friend. Perhaps it isn’t just chai itself that I love, but the associations with it that fill me with a kind of warmth and comfort.


My father was a very lean man, but a real powerhouse. All his life, he never ate in the day because he said he felt sluggish after and wouldn’t be able to work. So he filled himself with copious amounts of tea (that had copious amounts of sugar) and that seemed to be his rocket fuel. Between cups of tea, he was always bustling, never vacant.

On occasion, when my grandma put a cup of tea in front of him in the evening he’d pull out a jar of butter biscuits (Batasa) and Nankhatais (a sweet, dense, porous biscuit), that were probably supplied by a relative who had recently been to Surat or Navsari. He always poured his tea into the saucer to cool it quickly and then proceeded to drink from the saucer itself. Having made some room in the cup, he’d dunk a whole butter biscuit in and immerse it. You could see bubbles coming out like it was snorkelling. The result was this sweet-salty, soggy-crunchy thing which was absolutely delightful. Completely unhealthy, but delightful. Once in a while one got away because it got too soggy and you found it lying at the bottom of the cup when you finished your tea.

My dad and I would sit in front of the TV and I would dunk away in his tea cup. Somewhere along the way, I got my own tea and somewhere I probably liked tea enough to have it on its own.

I felt so grown up and stupidly accomplished when my grandma taught me how to make chai and I made it for my dad every now and then. My dad, for his part, would always say it was great. You know when a cup is brewing at home because there’s this wonderful aroma of mint and lemongrass wafting out of the kitchen and into the living room. It’s a smell that stirs up the most comforting feelings and I never would’ve thought that something so ordinary could do that.

When I was older and moved back home after design school, I started making my dad’s morning cup of chai. There was a designated cup that was filled not only to the brim, but until some spilled into the saucer. The short walk from the kitchen to the dining table, where he sat with two newspapers, was probably the most focused and deliberate, as the chai threatened to leap out of the saucer with every step. I’d put it on the table almost victorious, we’d exchange a smile and I went on to do my own morning things. The house was quiet, except for the hiss of a wall fan, the rustling of the newspaper as my dad pored over it and some raucous Babblers outside. Sunlight streamed in through the glass doors on either side and the house had this warm glow. This was my normal. Nor matter what went on, this was our little ritual.

Often when we think of food as a trigger, we think of feasts or family meals or spending time in the kitchen with our mum and grandmum. I have however, come to realise that it is the little, unassuming things that creep in and lodge themselves, that actually mean the most. That become rituals and slide into our subconscious and form the everyday. It is these things that you yearn for the most and you realise that the ordinary has never looked more precious.

In a humble cup of chai are housed a million ordinary memories, full to the brim and overflowing - more precious than ever.


The chai at my house has more milk than water and is full of flavour. I don’t mind tea that is more watery, but what I’m not a fan of is tea that is insipid. Or for that matter tea that comes out of a machine. You can smell the desperation when I drink that.

For as long as I can remember, the tea at home has always been mint tea and when lemongrass was available, we added that. To us, it couldn’t get any better. Mint and lemongrass together have the most fantastic aroma and make for the most flavourful, fragrant chai.

The pot we use to brew the tea is aluminium, with a handle - partly because it’s easy to clean and partly because it’s been around forever and somethings you don’t screw with. It’s big enough so that even with a couple of cups in there, there’s enough space to swirl everything around and mix it.

The tea I use is a strong one, because there’s more milk in this tea. We use Wagh Bakri Premium leaf tea and the tea itself is granular - kind of like granulated sugar. You can experiment with different types of teas (granulated though) and play around with proportions.

Once brewed the tea tends to leave a lot of fine residue, so using a sieve with a fine mesh works best.

As for the mint and lemongrass, we buy a bunch and store it in the fridge. For the mint, we pick the leaves along with a bit of the stem because that has a lot of flavour as well. Just to clarify, when I say lemongrass I mean the leaves. We cut the leaves up into about 2 inch bits and store them in a container in the fridge. It goes without saying that fresh is best, but most people can’t make time to go to the market every day.

Ingredients
3/4 cup milk
1/4 cup water
1 tsp tea granules
Handful of mint leaves with stems (At least 20 or so with stems. More if they’re small)
7-10 bits of lemongrass
Sugar to taste

Method
Measure out the milk and water and combine them in a pot over a high flame. Bring to the boil and as it nears boiling point, add the tea and lower the flame. Add the mint, lemon grass and sugar at this point and change to a high flame to bring to a boil again. Make sure you tear the mint leaves to release more flavour. As it reached boiling point, swirl the pot around to make sure that everything is combined. Lower the flame and put it back on the heat and simmer for a couple of minutes, until you find that the tea has leeched its colour into the milk and it has lost its milky hue. If you like it strong, leave it to simmer a little longer. Some of the liquid will evaporate and you should be left with just the perfect amount to fit into a tea cup.

Makes 1 cup

This is just how we do it, so feel free to play around with proportions  based on how you like your tea. If the tea granules you’re using aren’t strong enough, you may need to add more than a teaspoonful.

Variations
You can do just mint or just lemongrass, but you can also add ginger into the mix. This is especially nice in winter. Here are some variations we do - 

- mint, lemongrass, ginger
- mint, ginger
- lemongrass ginger
- just mint
- just lemongrass

If you like the occasional dunking in your chai - try a Khaari (a flaky, puff pastry kind of biscuit), a Nankhatai (a sweet, dense and porous biscuit flavoured with Indian spices) or my favourite - a Batasa (a salty, buttery-rich, slightly hard biscuit. Enjoy your chai!

Please let me know if you end up trying this or even how you make your cup of chai :)

chai recipe-01.jpg
chai recipe-02.jpg
In lettering, Food, recipes Tags lettering, custom lettering, graphic design, typography, recipe, edible heirlooms, food, hand lettering, type, illustration, chai
2 Comments

Latest Posts

Curry-Rice
Poro
Pineapple Upside Down
Khichdi
Papeta Par Eedu
Chai
Love and Vague Measures
Edible Heirlooms


Copyright Hazel Karkaria 2023